
How to Clean the Inside of Your Computer - Complete Step-by-Step Guide
Why Internal Cleaning is Essential for Your Computer
Over time, dust and dirt accumulate inside your computer, covering fans, heatsinks, and components. This buildup can block airflow, overheat your system, and even damage hardware if left unchecked. Regular internal cleaning not only extends the lifespan of your computer but also boosts performance by ensuring proper cooling.
Whether you have a gaming rig, a workstation, or a basic home PC, keeping the interior dust-free is a crucial part of PC maintenance. In this guide, I’ll show you step-by-step how to safely clean the inside of your computer.
How Often Should You Clean Inside Your Computer?
The recommended cleaning frequency depends on where your PC is located:
- Dusty rooms (carpets, pets nearby): every 2-3 months.
- Normal home/office environments: every 4-6 months.
- Ultra-clean spaces (air-conditioned offices): every 6-12 months.
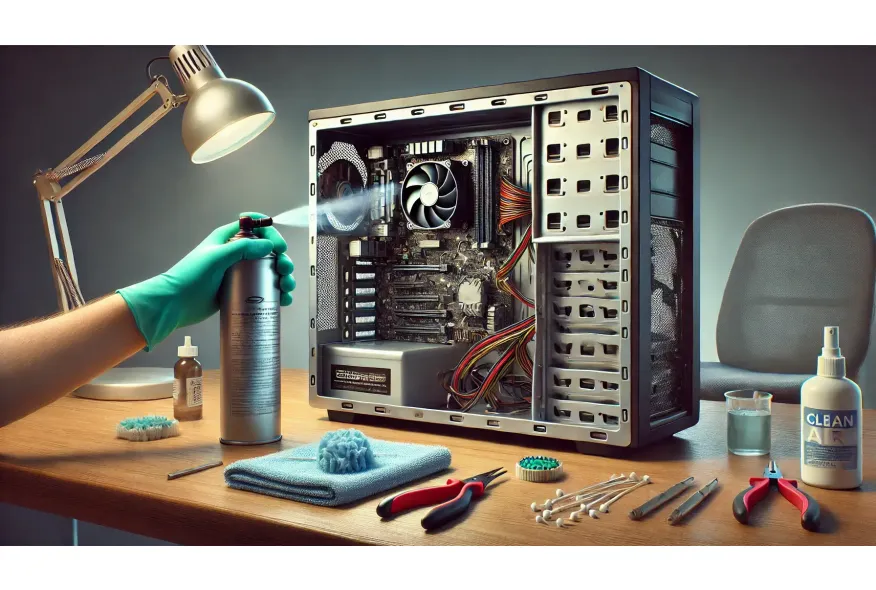
Tools You’ll Need
Before opening your PC case, gather these items:
- Compressed air can (or an electric air blower)
- Soft brush (anti-static recommended)
- Microfiber cloth
- Isopropyl alcohol (optional for deep cleaning)
- Cotton swabs (for tight spaces)
- Anti-static wrist strap (for extra safety)
- Vacuum cleaner (optional for workspace, not for components)
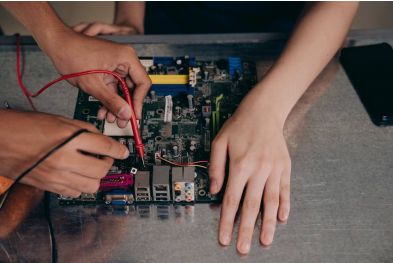
Step 1: Turn Off and Unplug Your Computer
Always turn off the PC and disconnect all cables. For desktop PCs, it’s also smart to switch off the PSU using the power supply’s rear button.
Step 2: Move to a Well-Ventilated Area
Cleaning can kick up a lot of dust, so work in a spacious, ventilated spot — a garage or large table is ideal. Avoid carpets to prevent static electricity buildup.
Step 3: Open the Case
Check your case manual for the right way to remove side panels. Most modern cases use thumb screws or slide-off panels.
Step 4: Use Compressed Air to Blow Out Dust
Hold the compressed air can upright and gently blow out dust from:
- Fans (case fans, CPU cooler, GPU fans)
- Power supply intake and exhaust
- Motherboard and components
- Between PCIe slots and heatsinks
Pro Tip: Always hold fans still with your finger to avoid spinning too fast, which could damage bearings.
Step 5: Clean Each Component
CPU Cooler
- Blow dust from heatsink fins.
- If the dust is caked, use a soft brush to loosen it first.
GPU
- Use compressed air to clean fans and heatsinks.
- For removable GPUs, you can take it out for thorough cleaning.
RAM and Slots
- Lightly brush RAM sticks and DIMM slots.
- Blow away any trapped dust.
Storage Drives
- Clean around SATA ports and connectors.
- Blow air over SSDs and HDDs.

Step 6: Clean Case Interior and Filters
Case Panels and Bottom
- Wipe down panels with a microfiber cloth.
- Use compressed air for corners and crevices.
Dust Filters
- Most modern cases have removable filters over intake fans.
- Wash them with water (if plastic/metal), let dry completely, and reinstall.
Step 7: Clean Power Supply (PSU)
- Do not open the PSU (this voids warranties and is dangerous).
- Use compressed air through the rear exhaust and bottom intake.
Step 8: Inspect Cable Management
While you’re inside the case, check your cable management:
- Are cables blocking airflow?
- Can you re-route cables behind the motherboard tray?
- Consider adding cable ties for tidiness.
Step 9: Reassemble and Test
- Close the case.
- Reconnect all cables.
- Power up your PC and monitor temperatures to see if cleaning made an improvement.
Extra Tips for Cleaner Builds
Use Positive Pressure Airflow
- Set up your fans so intake fans move slightly more air than exhaust fans.
- This helps keep dust out by preventing unfiltered air from entering through gaps.
Add Dust Filters to Open Areas
- If your case has unused fan mounts, cover them with magnetic dust filters.
Position Your PC Correctly
- Keep your PC off the floor and away from windows or vents.
When to Do a Deep Cleaning
If your PC has been neglected for years or was used in a very dusty environment, you might need to disassemble some parts for proper cleaning:
- Remove GPU, RAM, and cooler for deep cleaning.
- Reapply thermal paste if the cooler was removed.
What Not to Do When Cleaning a PC
- Never use a regular vacuum directly on components (it generates static electricity).
- Don’t spray liquid cleaners inside the case.
- Avoid touching delicate parts like capacitors with fingers.
- Do not use air compressors meant for industrial use — they can blow moisture or oil into your PC.
Benefits of Regular Internal Cleaning
Keeping your PC clean offers:
- Better thermal performance.
- Quieter operation (clean fans run smoother).
- Longer lifespan for components.
- Reduced risk of overheating and crashes.
Conclusion - A Clean PC is a Healthy PC
Regularly cleaning the inside of your computer is one of the simplest yet most effective ways to maintain performance and longevity. Whether you game daily or use your PC for work, dust buildup can silently affect performance. By following these steps, you ensure your machine stays cool, efficient, and reliable for years to come.