
Overclocking: What It Is and How to Do It Safely
Overclocking is a popular technique among PC enthusiasts to squeeze extra performance out of their hardware. By increasing the clock speed of your CPU or GPU, you can achieve faster processing and better gaming performance. However, overclocking comes with risks if not done correctly. In this guide, we’ll explain what overclocking is, how it works, and how to do it safely.
What is Overclocking?
Overclocking is the process of increasing the clock speed of a component, such as a CPU or GPU, beyond its factory settings. This allows the component to perform more operations per second, resulting in improved performance. For example, a CPU with a base clock speed of 3.5 GHz can be overclocked to 4.5 GHz or higher.
Benefits of Overclocking:
Improved Performance: Faster processing speeds for gaming, rendering, and multitasking.
Cost-Effective Upgrade: Get more performance without buying new hardware.
Customization: Tailor your system’s performance to your specific needs.
Risks of Overclocking:
Increased Heat: Higher clock speeds generate more heat, which can damage components if not properly cooled.
Reduced Lifespan: Pushing your hardware too hard can shorten its lifespan.
Voided Warranty: Overclocking may void your component’s warranty.
How to Overclock Safely
Before you start overclocking, it’s essential to understand the process and take precautions to avoid damaging your hardware. Follow these steps to overclock safely:
Step 1: Check Your Hardware
Not all components are created equal when it comes to overclocking. Here’s what you need:
Unlocked CPU/GPU: Only certain processors (e.g., Intel CPUs with a “K” suffix or AMD Ryzen CPUs) and GPUs are unlocked for overclocking.
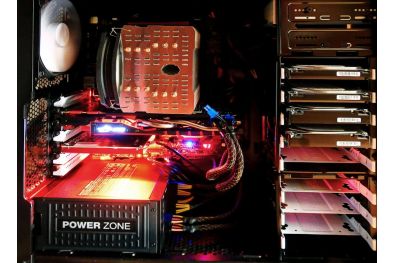
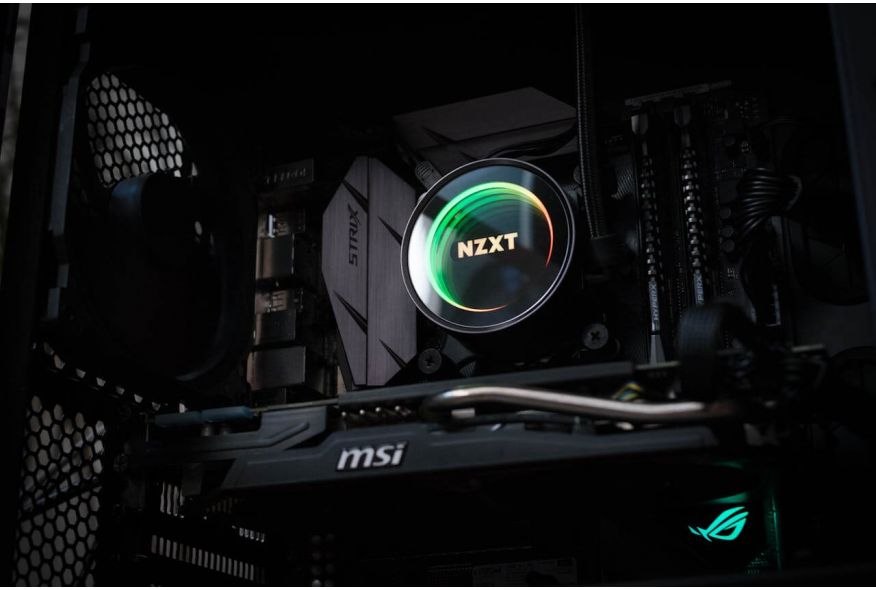
Adequate Cooling: Overclocking generates more heat, so ensure you have a robust cooling solution (air or liquid).
Reliable Power Supply: A high-quality PSU with sufficient wattage is crucial for stable overclocking.
Compatible Motherboard: For CPU overclocking, ensure your motherboard supports overclocking (e.g., Intel Z-series or AMD B/X-series chipsets).
Step 2: Monitor Your System
Before overclocking, use monitoring tools to check your system’s baseline performance and temperatures:
CPU-Z: Monitors CPU clock speeds and voltages.
HWMonitor: Tracks temperatures, voltages, and fan speeds.
MSI Afterburner: Ideal for GPU overclocking and monitoring.
Step 3: Overclock Your CPU
Enter BIOS/UEFI: Restart your PC and press the designated key (usually DEL, F2, or ESC) to enter the BIOS/UEFI settings.
Adjust CPU Multiplier: Increase the CPU multiplier in small increments (e.g., +0.5 GHz).
Increase Voltage (if needed): If your system becomes unstable, slightly increase the CPU voltage (Vcore). Be cautious, as too much voltage can damage your CPU.
Test Stability: Save your settings and boot into your operating system. Use stress-testing software like Prime95 or AIDA64 to check for stability and monitor temperatures.
Step 4: Overclock Your GPU
Use Overclocking Software: Download tools like MSI Afterburner or EVGA Precision X1.
Increase Core Clock: Gradually increase the GPU core clock speed (start with +50 MHz).
Increase Memory Clock: Boost the memory clock speed in small increments (start with +100 MHz).
Adjust Voltage (if needed): Increase the GPU voltage slightly if you encounter instability.
Test Stability: Run benchmarks like FurMark or 3DMark to test stability and monitor temperatures.
Step 5: Monitor and Fine-Tune
After overclocking, keep an eye on your system’s performance and temperatures:
Check Temperatures: Ensure your CPU and GPU stay within safe limits (typically below 85°C for CPUs and 80°C for GPUs).
Test for Stability: Run stress tests for at least an hour to ensure your system is stable.
Adjust Settings: If your system crashes or overheats, reduce the clock speeds or voltages.
Tips for Safe Overclocking
Start Small: Make incremental changes to avoid pushing your hardware too hard.
Keep Temperatures in Check: Invest in a high-quality cooling solution to manage heat.
Backup Your Data: Overclocking can sometimes lead to system instability, so back up your important files.
Know Your Limits: Not all hardware can achieve the same overclocking results. Be realistic about what your components can handle.
Final Thoughts
Overclocking is a powerful way to boost your PC’s performance, but it requires careful planning and execution. By following this guide, you can safely overclock your CPU or GPU and enjoy faster speeds without risking damage to your hardware.
Remember, overclocking is not a one-size-fits-all process. Take your time, monitor your system, and fine-tune your settings to achieve the best results.
Reminder:
Found this guide helpful? Share it with your friends and fellow PC enthusiasts on social media! Let’s help everyone unlock the full potential of their hardware. 🚀
By following these steps, you’ll be able to overclock your CPU or GPU safely and effectively. Enjoy the performance boost!