
How to Upgrade Your RAM the Right Way
Upgrading your RAM (Random Access Memory) is one of the simplest and most effective ways to boost your PC’s performance. Whether you’re a gamer, content creator, or multitasker, adding more RAM can make your system faster and more responsive. In this guide, we’ll walk you through the steps to upgrade your RAM correctly and avoid common pitfalls.
1. Check Your Current RAM
Before buying new RAM, assess your current setup:
How Much RAM Do You Have? Press Ctrl + Shift + Esc to open Task Manager, then go to the Performance tab to see your installed RAM.
What Type of RAM Do You Need? Check your motherboard’s specifications for supported RAM types (e.g., DDR4, DDR5) and maximum capacity.
2. Choose the Right RAM
When selecting new RAM, consider the following:
Capacity: For most users, 16GB is sufficient, but 32GB or more is ideal for gaming, video editing, or heavy multitasking.
Speed: Higher MHz (e.g., 3200MHz) means faster performance, but ensure your motherboard supports the speed.
Compatibility: Match the RAM type (DDR4, DDR5) and form factor (DIMM for desktops, SODIMM for laptops).
3. Gather Your Tools
You’ll need:
A screwdriver (if opening a laptop or desktop case).
An anti-static wrist strap (optional but recommended to prevent static damage).
Your new RAM sticks.
4. Power Down and Open Your PC
Turn Off Your PC: Shut down your computer and unplug it from the power source.
Ground Yourself: Touch a metal surface to discharge static electricity, or wear an anti-static wrist strap.
Open the Case: For desktops, remove the side panel. For laptops, unscrew the bottom panel or access the RAM compartment.
5. Remove Old RAM (If Necessary)
If you’re replacing existing RAM:
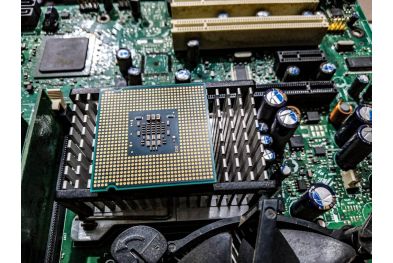
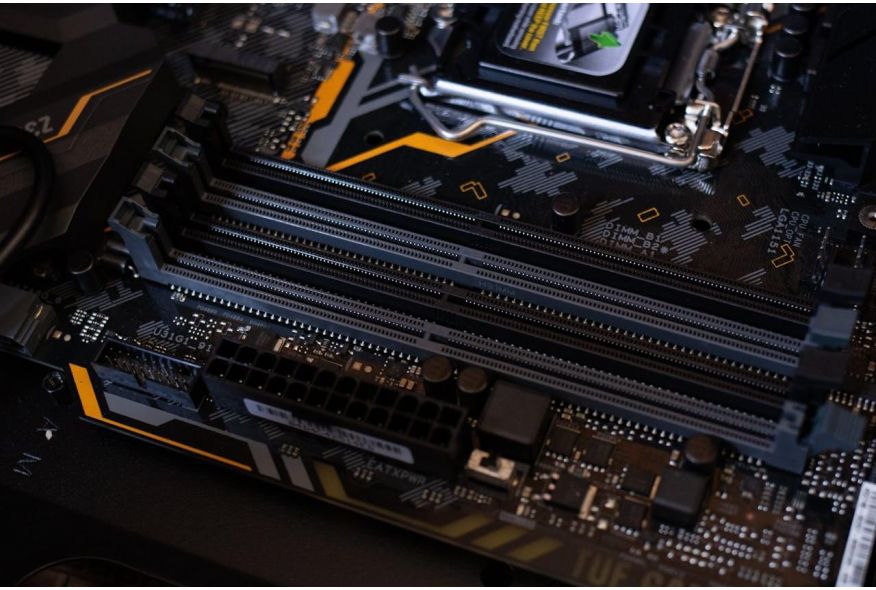
Locate the RAM Slots: RAM sticks are long, thin modules usually located near the CPU.
Release the Clips: Gently push the clips on either side of the RAM stick to release it.
Remove the RAM: Carefully pull the stick out of the slot.
6. Install the New RAM
Align the Notch: Match the notch on the RAM stick with the slot on the motherboard.
Insert the RAM: Hold the stick at a 45-degree angle and press it firmly into the slot until the clips snap into place.
Double-Check: Ensure the RAM is securely seated and the clips are fully closed.
7. Close Your PC and Power On
Reassemble Your PC: Put the side or bottom panel back on and secure it with screws.
Plug In and Power On: Reconnect your PC to the power source and turn it on.
8. Verify the Upgrade
Check BIOS/UEFI: During startup, enter the BIOS/UEFI (usually by pressing Delete, F2, or F10) to confirm the new RAM is detected.
Check in Windows: Open Task Manager (Ctrl + Shift + Esc) and go to the Performance tab to verify the new RAM capacity.
9. Troubleshooting Tips
If your PC doesn’t recognize the new RAM:
Reseat the RAM: Turn off your PC, remove the RAM, and reinsert it.
Check Compatibility: Ensure the RAM matches your motherboard’s specifications.
Update BIOS: Check your motherboard manufacturer’s website for a BIOS update that supports your new RAM.
Final Thoughts
Upgrading your RAM is a straightforward process that can significantly improve your PC’s performance. By following these steps, you can ensure a smooth upgrade and avoid common mistakes.
Found this guide helpful? Share it with your friends on social media to help them upgrade their RAM too!
With the right RAM and a little know-how, you can breathe new life into your PC and enjoy faster, smoother performance. Don’t forget to share this article to help others make the most of their upgrades!