
How to Install RGB Lighting in Your PC and Make It Stylish
RGB lighting has become a must-have for PC enthusiasts who want to add a touch of personality and style to their setups. Whether you’re building a new PC or upgrading an existing one, adding RGB lighting can transform your rig into a dazzling display of colors. In this guide, we’ll walk you through the steps to install RGB lighting in your PC and make it look truly stunning.
What You’ll Need
Before you start, gather the following components:
RGB Strips or Fans: Choose between adhesive RGB strips or RGB fans for case lighting.
RGB Controller: Some kits come with a controller to manage lighting effects.
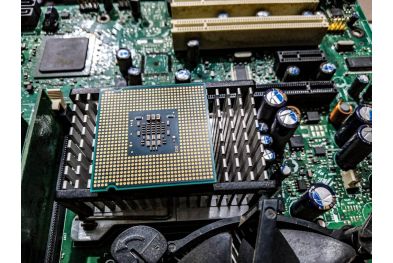
Compatible Motherboard: If your motherboard has RGB headers, you can sync lighting with software.
Power Connectors: Ensure you have the necessary SATA or Molex connectors for power.
Tools: Screwdrivers, zip ties, and scissors for cable management.
Step 1: Plan Your Lighting Layout
Before installing anything, decide where you want to place your RGB lighting. Common areas include:
Inside the Case: Along the edges, behind the motherboard tray, or around the perimeter.
On the Case Exterior: For a more dramatic effect.
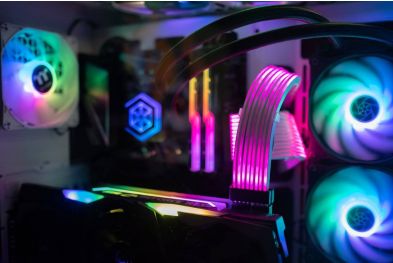
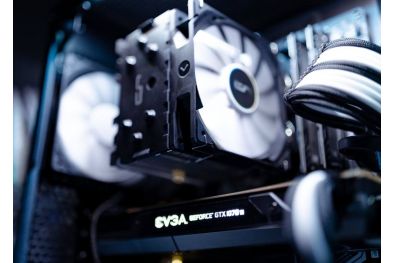
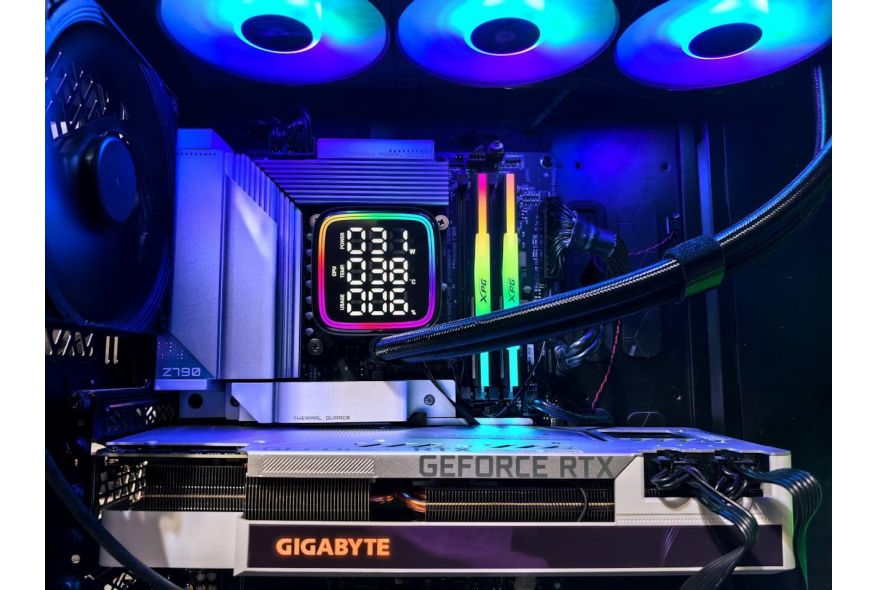
On Components: Such as RGB fans, CPU coolers, or RAM sticks.
Step 2: Install RGB Strips
If you’re using RGB strips, follow these steps:
Clean the Surface: Wipe down the areas where you’ll attach the strips to ensure they stick properly.
Attach the Strips: Peel off the adhesive backing and carefully place the strips in your desired locations.
Connect the Strips: Link the strips together using the provided connectors, ensuring they’re securely attached.
Connect to Power: Plug the strips into the RGB controller or motherboard header, depending on your setup.
Step 3: Install RGB Fans
If you’re using RGB fans, here’s how to install them:
Remove Existing Fans: If your case already has fans, remove them to make room for the RGB ones.
Mount the RGB Fans: Secure the new fans in place using screws or the case’s fan mounts.
Connect the Fans: Plug the fans into the RGB controller or motherboard headers for power and lighting control.
Step 4: Connect and Configure RGB Lighting
Once everything is installed, it’s time to connect and configure your RGB lighting:
Connect to the Controller: If you’re using an RGB controller, connect the strips or fans to it and plug the controller into a power source (usually SATA or Molex).
Connect to the Motherboard: If your motherboard has RGB headers, connect the lighting components to them for software control.
Install Software: Download the manufacturer’s software (e.g., ASUS Aura Sync, MSI Mystic Light, or Corsair iCUE) to customize lighting effects, colors, and patterns.
Step 5: Cable Management
To keep your build looking clean and professional, manage your cables effectively:
Use zip ties to bundle cables together.
Route cables behind the motherboard tray or through cable management channels.
Ensure cables don’t obstruct airflow or interfere with components.
Step 6: Test and Enjoy
Once everything is set up, power on your PC and test the RGB lighting. Use the software to customize the colors and effects to match your style. Popular options include:
Static Colors: Choose a single color for a sleek, uniform look.
Color Cycling: Create a dynamic effect with colors that change over time.
Music Sync: Sync the lighting to your music for a party-ready setup.
Final Thoughts
Installing RGB lighting in your PC is a fun and rewarding way to personalize your setup and make it stand out. With the right components and a bit of planning, you can create a stunning visual display that reflects your personality.
Loved this guide? Share it with your friends on social media to help them create their own stylish RGB PC setups!
By following these steps, you can transform your PC into a vibrant and eye-catching masterpiece. Don’t forget to share this article to inspire others to light up their builds!