
How to Build a PC Step by Step: A Complete Guide for Beginners
Building a PC from scratch might seem intimidating, but it's a rewarding experience that allows you to customize your computer to meet your exact needs. Whether you're building a gaming rig, a workstation, or a budget PC, understanding the process is crucial. In this guide, we’ll walk you through every step of assembling a computer, from choosing the right components to installing the operating system.
1. Understanding the Key Components of a PC
Before we get into assembly, let’s take a look at the essential parts of a computer:
- Processor (CPU) – The brain of the computer, responsible for executing instructions.
- Motherboard – The main circuit board that connects all components.
- Memory (RAM) – Provides temporary storage for active processes and applications.
- Storage (SSD/HDD) – Stores data and the operating system.
- Power Supply Unit (PSU) – Converts electricity from the wall outlet to power the PC.
- Graphics Card (GPU) – Renders images and videos; crucial for gaming and creative work.
- Cooling System – Keeps components from overheating (air or liquid cooling).
- PC Case – Houses all components and provides airflow.
2. Choosing the Right Parts for Your PC Build
a) Identify Your Purpose
- Gaming PC – Prioritize a powerful GPU and high refresh rate monitor.
- Workstation PC – Focus on a strong CPU, lots of RAM, and fast storage.
- Budget PC – Balance performance and cost by choosing mid-range components.
b) Compatibility Check
Before purchasing parts, ensure:
- The CPU fits the motherboard socket.
- The motherboard supports your chosen RAM type (DDR4 or DDR5).
- The power supply is sufficient for the entire system.
- The case can fit your selected components.
3. Tools You’ll Need
- Phillips screwdriver – Essential for installing components.
- Anti-static wrist strap – Helps prevent static electricity damage.
- Thermal paste – Necessary for proper CPU cooling.
- Cable ties – For cable management.
4. Step-by-Step Guide to Assembling Your PC
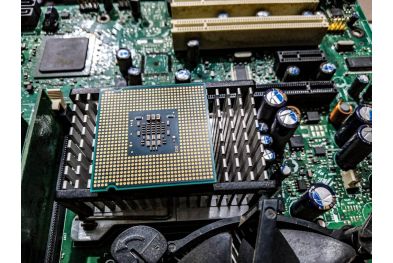
Step 1: Install the CPU on the Motherboard
- Locate the CPU socket on the motherboard.
- Open the socket latch and carefully place the CPU in the correct orientation.
- Close the latch to secure the processor in place.
Step 2: Install RAM Modules
- Identify the RAM slots on the motherboard.
- Align the RAM sticks with the slot and press firmly until they click into place.
Step 3: Attach the Storage Drive
- If using an M.2 SSD, insert it into the designated slot and secure it with a screw.
- If using a SATA SSD/HDD, connect it using a SATA cable and power cable.
Step 4: Mount the Motherboard in the Case
- Align the motherboard with the standoffs inside the case.
- Secure it with screws, ensuring it’s firmly in place.
Step 5: Install the Power Supply (PSU)
- Slide the PSU into its compartment (usually at the bottom or top of the case).
- Secure it with screws.
- Connect the 24-pin motherboard power cable and 8-pin CPU power cable.
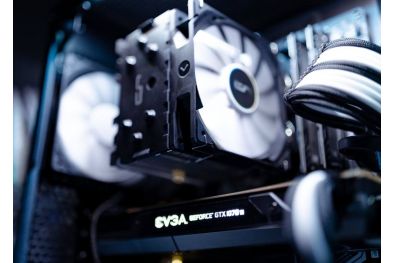
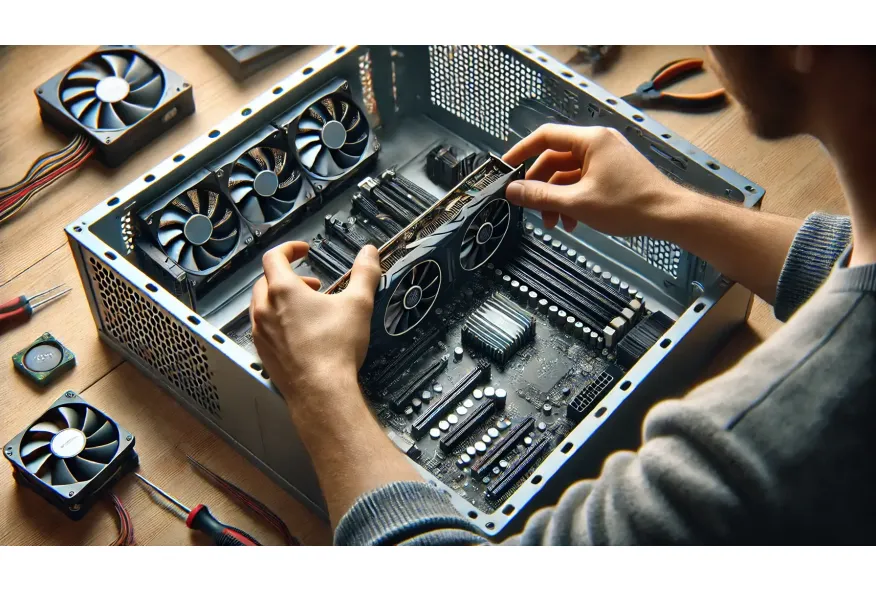
Step 6: Install the Graphics Card (GPU) (If Needed)
- Locate the PCIe slot on the motherboard.
- Insert the GPU and secure it with screws.
- Connect the required power cables from the PSU.
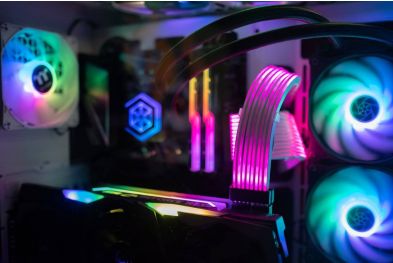
Step 7: Connect Case Fans and Cables
- Attach case cooling fans to the motherboard’s fan headers.
- Connect the front panel connectors (power button, USB ports, audio jacks).
Step 8: Cable Management
- Use cable ties to neatly arrange the cables and improve airflow.
5. First Boot and BIOS Setup
- Turn on the PC and press the BIOS key (usually DEL or F2).
- Check if all components are detected.
- Enable XMP/DOCP (if using high-speed RAM).
- Save settings and exit BIOS.
6. Installing the Operating System (Windows or Linux)
- Insert a USB drive with Windows/Linux installation files.
- Boot from the USB and follow the installation steps.
- Install drivers for your motherboard, GPU, and other components.
7. Testing and Optimization
- Run stress tests (e.g., Cinebench, FurMark) to check stability.
- Monitor temperatures to ensure proper cooling.
- Update BIOS and drivers for better performance.
Final Thoughts
Building a PC is a fun and rewarding process that allows full customization. Whether for gaming, work, or casual use, assembling your own computer saves money and ensures you get the best performance for your needs.
Would you like me to generate a realistic image of a PC build in progress? 😊