
How to Build a PC from Scratch: A Complete Guide for Beginners
Building your own PC can be an exciting and rewarding experience. Whether you're assembling a gaming rig, a workstation, or a budget-friendly setup, understanding the components and assembly process is crucial. This guide will take you step by step through everything you need to know to build a PC from scratch.
1. Understanding PC Components
Before you start, it's essential to familiarize yourself with the core components that make up a computer.
1.1 Central Processing Unit (CPU)
The CPU is the brain of your computer. It processes data and instructions. Popular choices include Intel Core (i3, i5, i7, i9) and AMD Ryzen (3, 5, 7, 9).
1.2 Motherboard
The motherboard connects all components. When choosing a motherboard, ensure it is compatible with your CPU and other parts.
1.3 Graphics Processing Unit (GPU)
A dedicated GPU is necessary for gaming, video editing, and graphic-intensive tasks. NVIDIA and AMD are the leading brands.
1.4 Random Access Memory (RAM)
RAM temporarily stores data for quick access. For gaming and multitasking, 16GB is recommended, but 8GB can suffice for basic use.
1.5 Storage (HDD & SSD)
- HDD (Hard Disk Drive): Budget-friendly but slower.
- SSD (Solid State Drive): Faster, more reliable, and recommended for your operating system and frequently used programs.
1.6 Power Supply Unit (PSU)
The PSU powers all components. Choose one with at least 80 PLUS certification for efficiency. Ensure it provides enough wattage for your build.
1.7 Case
The case houses all components. Consider airflow, size, and aesthetics when selecting a case.
1.8 Cooling System
Your PC needs proper cooling to prevent overheating. You can choose between air cooling (fans) and liquid cooling (AIO coolers).
2. Planning Your PC Build
Before buying components, define your purpose and budget. Do you need a high-performance gaming PC, a content creation machine, or a budget-friendly computer for everyday tasks?
2.1 Compatibility Check
Use online tools like PCPartPicker to ensure all parts are compatible before purchasing.
2.2 Essential Tools
- A Phillips-head screwdriver
- Anti-static wrist strap (optional but recommended)
- Thermal paste (sometimes included with the CPU or cooler)
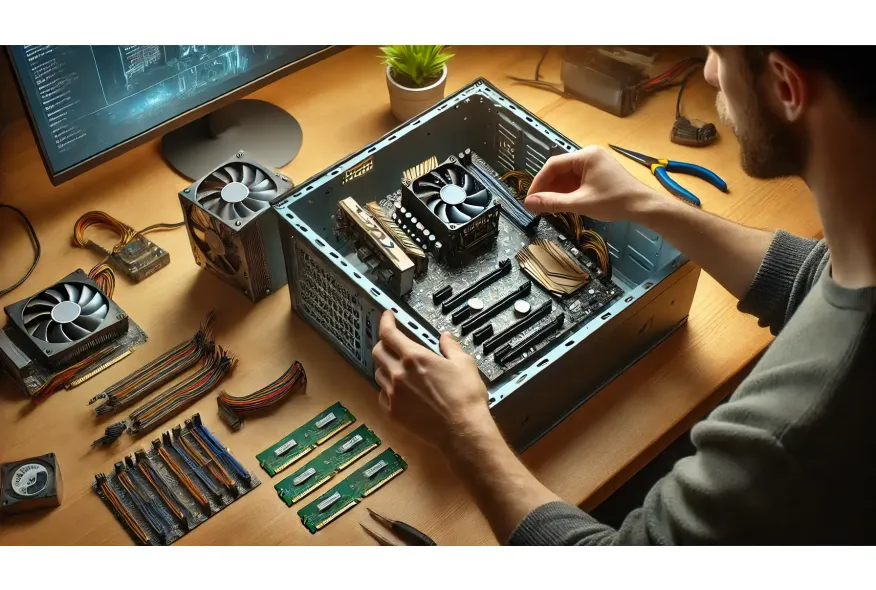
3. Step-by-Step Assembly Guide
Once you have all the components, follow these steps to assemble your PC.
3.1 Prepare Your Workspace
Find a clean, well-lit, and static-free environment.
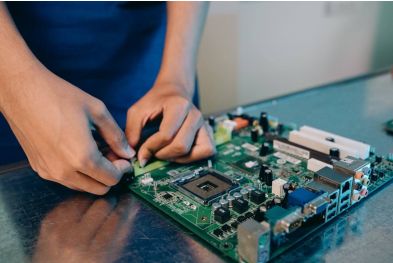
3.2 Install the CPU
- Locate the CPU socket on the motherboard.
- Lift the retention arm and align the CPU using the triangle marker.
- Gently place the CPU into the socket (do not force it).
- Secure it by lowering the retention arm.
3.3 Install the RAM
- Locate the RAM slots on the motherboard.
- Unlock the slots by pushing the clips outward.
- Align the RAM stick with the notch and firmly press down until it clicks into place.
3.4 Install the Storage (SSD/HDD)
- If using an M.2 SSD, insert it into the M.2 slot and secure it with a screw.
- If using a 2.5" SSD or 3.5" HDD, mount it in the drive bay and connect the SATA power and data cables.
3.5 Install the Motherboard into the Case
- Align the motherboard with the standoff screws inside the case.
- Secure the motherboard with screws, ensuring it sits firmly in place.
3.6 Install the Power Supply (PSU)
- Place the PSU in its designated compartment.
- Connect the 24-pin ATX cable to the motherboard.
- Connect the CPU power cable to the motherboard.
- If using a dedicated GPU, connect the necessary PCIe power cables.
3.7 Install the GPU
- Locate the PCIe x16 slot on the motherboard.
- Remove the corresponding PCIe cover from the case.
- Insert the GPU into the slot until it clicks into place.
- Secure it with screws and connect the PCIe power cables if required.
3.8 Connect Case Fans and Front Panel Connectors
- Connect case fans to the motherboard or directly to the PSU.
- Attach front panel cables (power button, reset button, USB, audio).
3.9 Cable Management
Use zip ties to neatly organize cables and improve airflow inside the case.
4. First Boot and BIOS Setup
4.1 Powering On Your PC
- Plug in your monitor, keyboard, and mouse.
- Connect the power cable and turn on the PSU switch.
- Press the power button on your case.
4.2 Entering the BIOS
- If the PC turns on, press DEL or F2 to enter the BIOS/UEFI.
- Check if all components are detected.
4.3 Installing the Operating System (Windows/Linux)
- Create a bootable USB with Rufus or Microsoft’s Media Creation Tool.
- Boot from the USB drive and follow the installation steps.
5. Optimizing Your New PC
5.1 Install Essential Drivers
- GPU drivers (from NVIDIA or AMD)
- Chipset and motherboard drivers
- Audio and network drivers
5.2 Update Windows or Linux
Ensure your operating system is fully updated.
5.3 Install Software and Security Tools
- Antivirus software
- Essential programs (browsers, productivity tools, games, etc.)
Final Thoughts
Building your own PC may seem complex, but with careful planning and attention to detail, it becomes a straightforward process. Not only will you have a custom-built machine tailored to your needs, but you'll also save money and gain valuable technical knowledge.
Now that your PC is up and running, consider upgrading components in the future to keep up with evolving technology. Happy building! 🚀